I am sure you have a lot more questions! Don't worry we will do our best to answers as many as we can and this page is pretty long, but filled with loads of info and videos to help. If you would prefer one of our team to work out the right solution for you, please just jump to the bottom of the page and fill out the form.

First Step - Check Your Ethernet Adpater
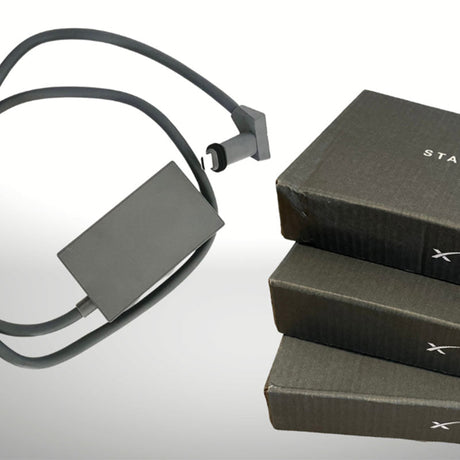
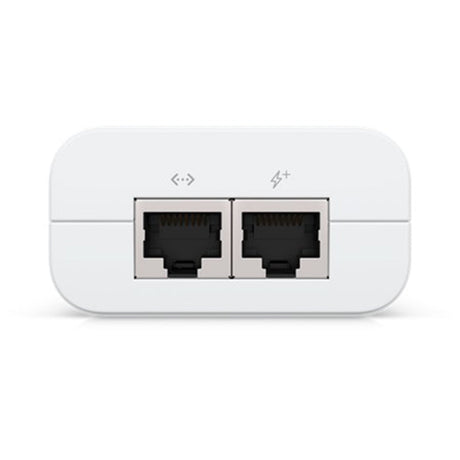
Let's first talk about your Starlink install. If you have the rectangle dish (Gen 2), then you will notice that your Starlink wireless router doesn't have an ethernet port. For all of the solutions below, you will need to get the optional ethernet adapter from Starlink, which can be found here.
If you have a Gen 1 Starlink you should have a a port labelled AUX, or if you have a Gen 3, then you also have a spare ethernet port, so don't need the adapter.
Not sure how all the bits you received from Starlink fit together - This video should get you going in the right direction.
One of the most common questions we get asked is, "How do I extend my Starlink connection?"
When that question is asked, we first like to find out which of the following you are trying to achieve. Please note that these solutions won't give you stronger 3G/4G/5G connections. That is a different technology. The solutions below are for extending the wireless coverage of your current internet connection.
Please do also bear in mind that the following materials can massively decrease the distance wireless will travel along with the speed performance. It is important to understand a little more about the location you are wanting to increase wireless in and the makeup of any walls, floors or objects between buildings, before you can choose the right solution for you.
Metal
Blue Stone
Concrete
Dense Fooliage & Trees
Solid Wood beams and panels
You want to be able to use a wireless device (laptop, phone etc) over a greater distance than is being covered already by the solution you have in place.
In this instance, you would normally have a wireless router or access point already setup (possibly just your Starlink router) up and you are finding you have dead spots, or it does not reach as far as you would expect / need it to. Have a read below of the section - Extend my Wireless - To cover a greater area for more information on how to improve your setup. This as been split in to two sections. One covering mesh and extenders, the other using ethernet cabled wireless access points.
You want to be able to use wireless in a separate property / location - for example a shed, granny flat or garage that is not physically possible (or not cost effective) to connect using a physical ethernet cable.
This does have a little cross over with the question above. It is often thought that by increasing the power of a wireless access point, it will cover a greater area and therefore "allow" the signal to reach another building. Although in some instances this may work, various factors including physical distance and building materials used, play a significant role in performance. Creating a wireless bridge is often the most reliable and consistent way to approach this and will work for connections from 10m to several kilometers. This option can be extended to join multiple locations together in what is called a Point to Multi Point Wireless Bridge. Have a read of the section below - Extend my wireless - To another location, for more information.
Each one of these have a slightly different approach, but we hope to lay out solutions for all in the page below. Remember, if you are not sure, need some extra help or are just a little lost and need some direction, we are on hand to help. Give us a call (1300 910 949), start up a webchat (bottom right hand corner) or fill in the form (right at the bottom of the page)
Frequently Asked Questions
Shipping
What countries do you ship to?
What countries do you ship to?
We currently ship to the United States, Canada, Australia and the UK. To enquire about shipping to a different destination, please contact us.
How long will it take to receive my order?
How long will it take to receive my order?
Standard shipping normally takes 3-5 days. Next day shipping is available on all domestic orders (for an additional charge). International shipping times depend on the products and destination (estimated at checkout).
Returns and Refunds
How do I return a product?
How do I return a product?
Items must be returned within 30 days after receiving your order. Items must be returned in the same condition in which they were received, be unworn/unused, have any tags still attached, and include all the original packaging.
How long will it take to receive my refund?
How long will it take to receive my refund?
Refunds are processed within 7 days from when we receive the item(s).
Extend My Wireless
To Cover A Greater Area

The power of more
In these two sections we are only going to focus on how to extend the wireless, inside and directly outside your property that already has wireless or needs it.
It is first important to note that wireless is actually about density not distance. We can often think that if we get a really powerful access point, we can then use that wireless on our devices, ie a laptop or a mobile over a greater distance. Unfortunately, the weakest link is the receiving device as it often only has a small antenna.
Maybe think of it as an adult and a child playing soccer. The adult kicks the ball as hard as they can and tells the child to run after it. Once it stops, they need to kick it back to the adult. It is just not possible as the child can't kick as far as the adult. This is the same in the wireless world. The signal can be transmitted a long distance, but the receiving device is so much weaker it can't send the data back, so it won't work until it gets closer

To fix this issue we need to add more access points, which will in turn give us better coverage and better speeds as more devices will be closer to an access point.
As part of your Starlink setup you would have received a wireless router. In most instances this would have come without an ethernet port and probably will not cover as much of an area with wireless that you need it to. To create the best solution, we would recommend purchasing the ethernet adapter from Starlink and replacing the router.
The best solution is to add in wireless access points, ideally hardwired, using Cat6 ethernet cable back to your new router or switch. We would suggest an access point per level, as a minimum, and ideally an access point every 20m throughout. This will give you the best wireless connectivity. If you have brick or concrete interior walls then this may need to be every 10m.
If you are looking to cover an outdoor space, then use an outdoor wireless access point mounted to the outside of your property for the best results. Do remember though that the coverage will be dependent on the device connecting, so we would suggest it will cover no more than about 50 - 70m.
It may not be possible for you to run ethernet cables inside your property, maybe it is a rental, or you don't want the additional cost or trouble.
Depending on the makeup of your walls, their thickness and the materials used, you may find that an extender like the TP-Link RE650 may do exactly what you need.
If you need to cover a larger inside area over a couple of levels, or possible get outside or maybe to another building if it is close (less than 10m) then creating a wireless mesh will certainly be a great option to consider.
This video walks through how extenders and mesh networks can work and be setup with your Starlink router and what materials to look out for that will reduce your wireless coverage. You will also find some purchase options list below in the What do I need to order? - Wireless Mesh and Extenders section.
Product comparison grid
We all like simple, ready to use solutions that are cost effective. For us using Ruijie or Ubiquiti products are some of the quickest ways of getting up and running. Expand the links below to read about each product offering and the options you need to build your wireless network expansion.
Ruijie - One of the easiest solutions currently out there (in our opinion!)
Routers
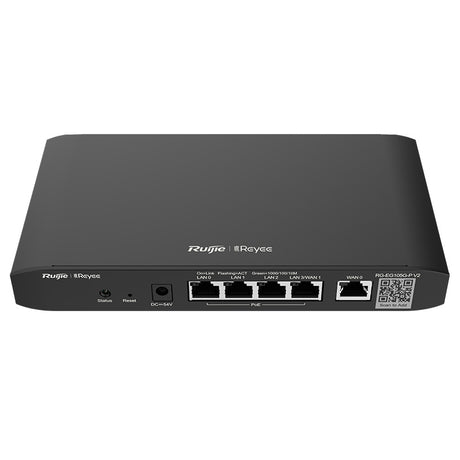
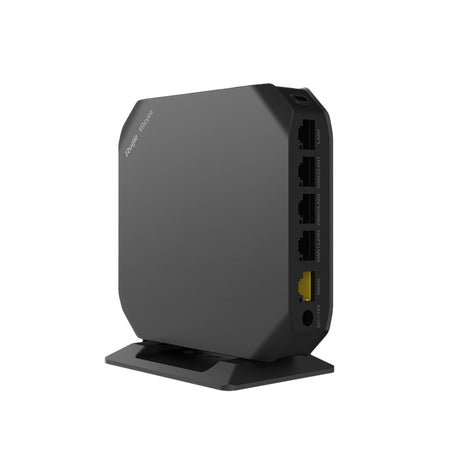
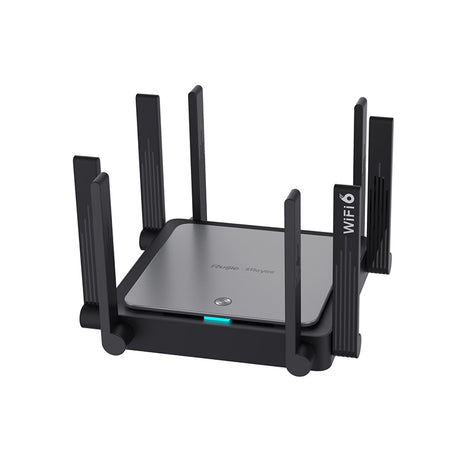
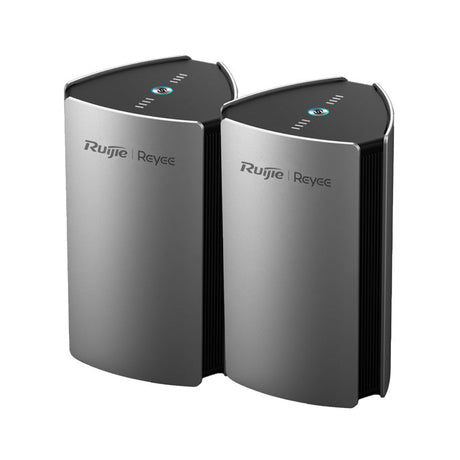
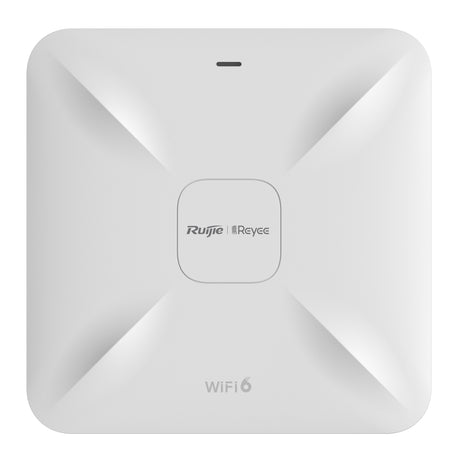
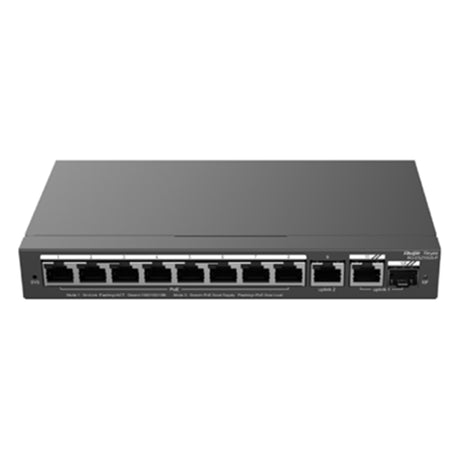
For many people replacing the Starlink router is a good first step. You certainly don't have to do this and if you just want to extend wireless outside, but it will make a neater, seamless and manageable solution.This really leaves you with two router choices. If you are going to hardwire (ethernet cable) wireless access points in your property, then you may not need a router that has wireless built in. As a result the EG105G-Pmay be the best as it includes PoE (Power over Ethernet) ports to allow you to power your connected access points. If you are looking for a simple start and want to use devices around your house to "mesh" and extend the signal then we would recommend theEG105GW(T). If you are not looking to add in any wired access points, then we would highly recommend using theRuijie EW3200GX Pro Wireless 6 Router. Multiple can be used, meshed together wirelessly, to improve wireless inside larger properties.
| Facet | ||||
|---|---|---|---|---|
| Price | ||||
| Price |
$200.19 AUD
Unit price
/
Unavailable
|
$182.09 AUD
Unit price
/
Unavailable
|
$222.30 AUD
Unit price
/
Unavailable
|
$529.17 AUD
Unit price
/
Unavailable
|
Product comparison grid
Access Points
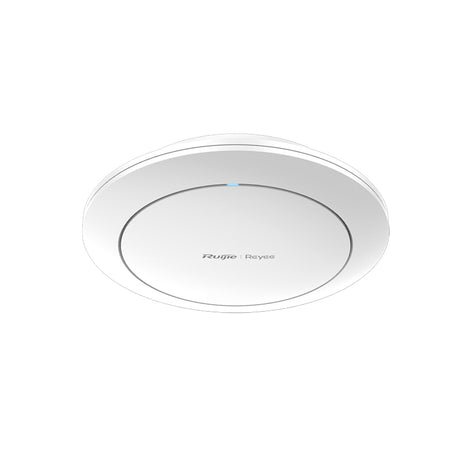
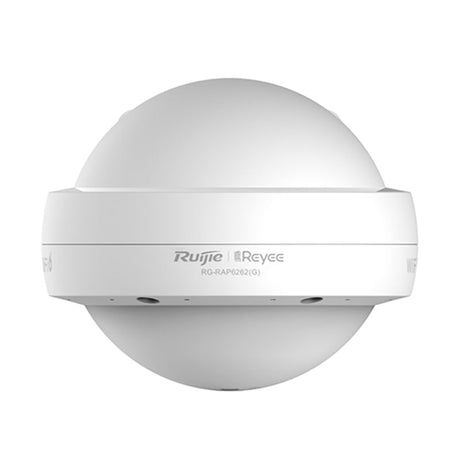
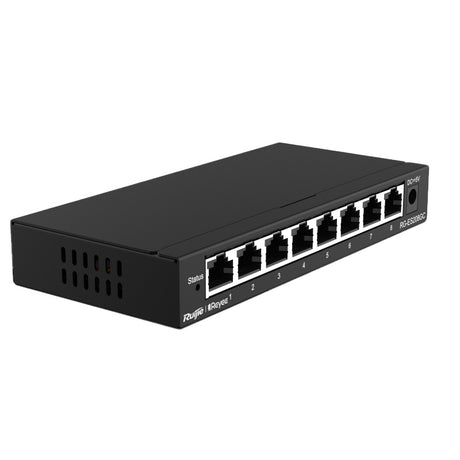
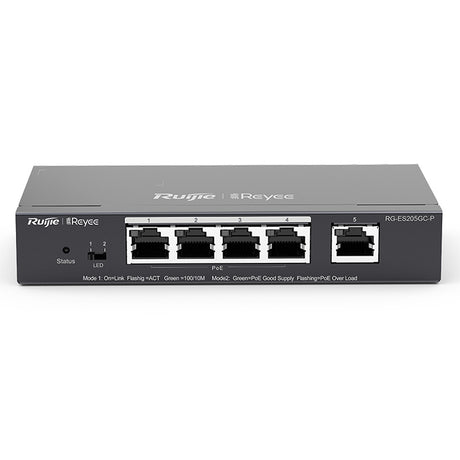
Next up are your access points. If you are looking to hardwire (ethernet cable) then you can choose the number of access points you need. We would suggest that they are positioned at least 1 per property level and then around 15m apart, depending on the wall makeup. This willallow for goodall-round signal for each device and make sure no device can reduce the speed for any of the others due to being too far away from theaccess point.If you want to extend your wireless in your property and can't run cables, then first replace your Starlink router with a EG105GW(T) Router and then purchase additional to cover the areas you need, using it in "mesh" mode.For the best coverage outside it is best to mount a dedicated outside access point on the roof or high up on a wall of your property. The RAP6262 is the best for this situation.Each access point will need power to be provided by PoE (power of ethernet). You will either need a PoE Switch or a PoE injector to power them.
| Facet | ||||
|---|---|---|---|---|
| Price | ||||
| Price |
$182.09 AUD
Unit price
/
Unavailable
|
$225.05 AUD
Unit price
/
Unavailable
|
$340.16 AUD
Unit price
/
Unavailable
|
$229.90 AUD
Unit price
/
Unavailable
|
Product comparison grid
Add content here to explain a bit about the range of products on offer and which ones may be most suitable for your customers.
| Facet | ||||
|---|---|---|---|---|
| Price | ||||
| Price |
$67.26 AUD
Unit price
/
Unavailable
|
$224.22 AUD
Unit price
/
Unavailable
|
$109.51 AUD
Unit price
/
Unavailable
|
$44.00 AUD
Unit price
/
Unavailable
|
Product comparison grid
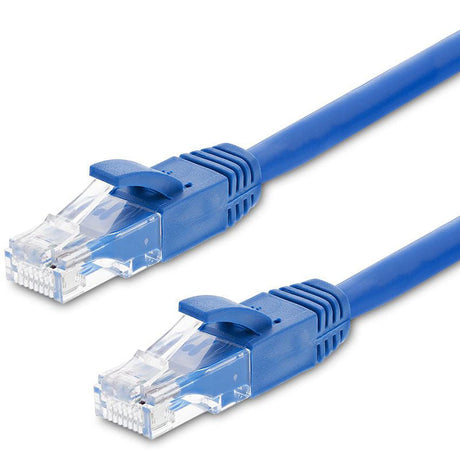
Cables and that little extra help
So you will need some cables to get this all joined up together. We would recommend Cat6a as a good allrounder. If you have some long outside runs, then do grab some pre-made outdoor cable as it is UV balanced and will last just that bit longer.Although you can purchase the cables individually below, we also have some common cable bundles that suit most requirements and can save you a bit at the same time. Theindoorbundles are good for each access point you want to add. They include a cable from your switch / router / Starlink ethernet adapter to the PoE device needed to power the access point and then on to the access point you need to wall or ceiling mount.Theoutdoorbundles are good for each outside access point you want to add. They include a cable from your switch / router / Starlink ethernet adapter to the PoE device needed to power the outdoor access point and then on, through your wall or roof to the pole the device is mounted on.Do you need a little bit of extra configuraiton help? You can pre book our time, or we can pre-configure everything for you. Generally we only need 30 minutes for a bridge or an hour for a bridge and a couple of other devices (a switch and an access point for example) Reach out to us if you want us to price your install for you.
| Facet | ||||
|---|---|---|---|---|
| Price | ||||
| Price |
From
$12.96 AUD
Unit price
/
Unavailable
|
From
$2.94 AUD
Unit price
/
Unavailable
|
From
$88.00 AUD
Unit price
/
Unavailable
|
$104.50 AUD
Unit price
/
Unavailable
|